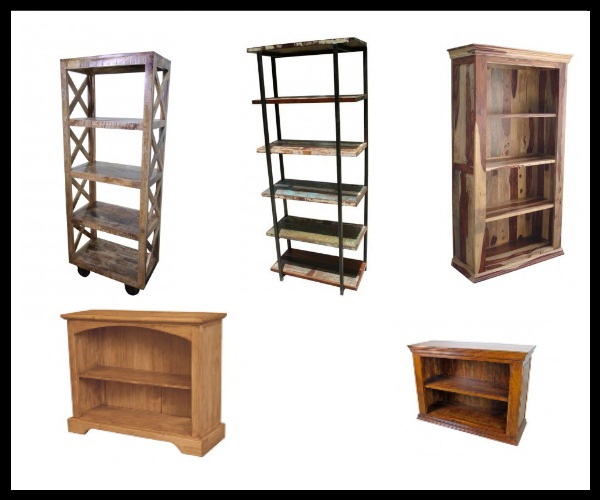
Organize the living room and bedroom area in style with shelves and bookcases. Rustic shelving and bookcase crafted by hand from recycled lumber would add a distinct style to any home decor. Because of the variations in character and color, one could have a good selection of what best fits the living room or the bedroom decor. Rustic bookcases and shelving are not only terrific decor additions to the living area but they are also great additions to a bedroom where one could not only store books but also display favorite items.
Rustic wooden shelving and bookcases are a perfect storage option for any bedroom or living space. Some log shelves come with adjustable doors and shelves to accommodate numerous picture frames, books and a whole lot more. There is a wide array of wood options and colors including walnut, cedar, reclaimed and many more. While there may be manufacturers and dealers offering a huge range of rustic shelving, one could also make it as a DIY project. Check out the following items and learn how to build a rustic bookcase and shelving personally.
Materials needed:
- Reclaimed wood enough for the size and number of shelves
- Big L-brackets, three for every shelf
- Screws that are of the right length for the board size
- Drill
- Hammer
- Handsaw
- Level
- Sharp chisel
- Pencil
- T-square
- Tape measure
Stud finder Steps to crafting a bookcase or shelf:
- Measure and cut the reclaimed lumber to the right length with a handsaw. Make the cut line using a pencil and the T-square.
- Determine where the studs are in the wall with a stud finder. Make a small X over them at the approximate heights desired.
- Make a straight vertical line using a level held flush through the spots with an X. This helps ascertain that the selves are lined up straight.
- Measure the distance between the X marks. The distance between the wall studs would determine the distance between the L-brackets to be mounted on the wood.
- Line L-brackets up on the wood and trace the outline. This is for creating a hole for the bracket so it will be hidden in so it would be flush with the wood.
- Along the traced outlines, slightly punch into the wood using the edge of the hammer and chisel. Go as deep only as the thickness of the bracket.
- Chisel away at the wood carefully until smooth. This creates a flat area for the bracket to rest.
- Mark and drill holes in lumber that would match the bracket holes. Screw brackets into the wood.
- With the lever, hold shelves up against the wall following the vertical line which was drawn earlier centered through the brackets screw holes. When the shelf is level, create marks on the wall to match holes in brackets.
- Make holes on the wall for screws using a drill.
- Hang shelf through screwing through the L-brackets into the holes created.
- Style with favorite items and books.
 RSS Feed
